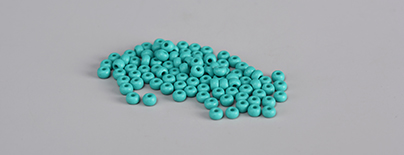
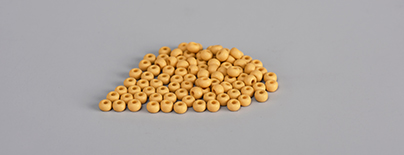
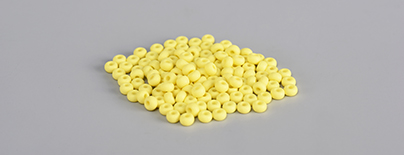
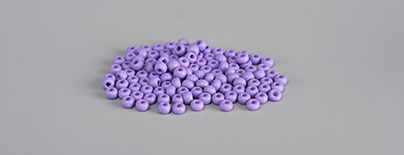
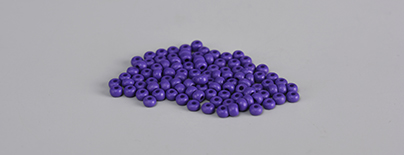
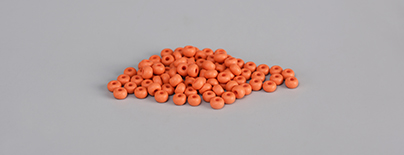
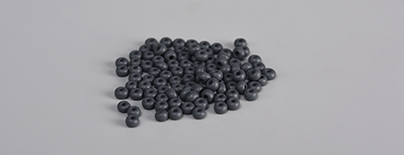
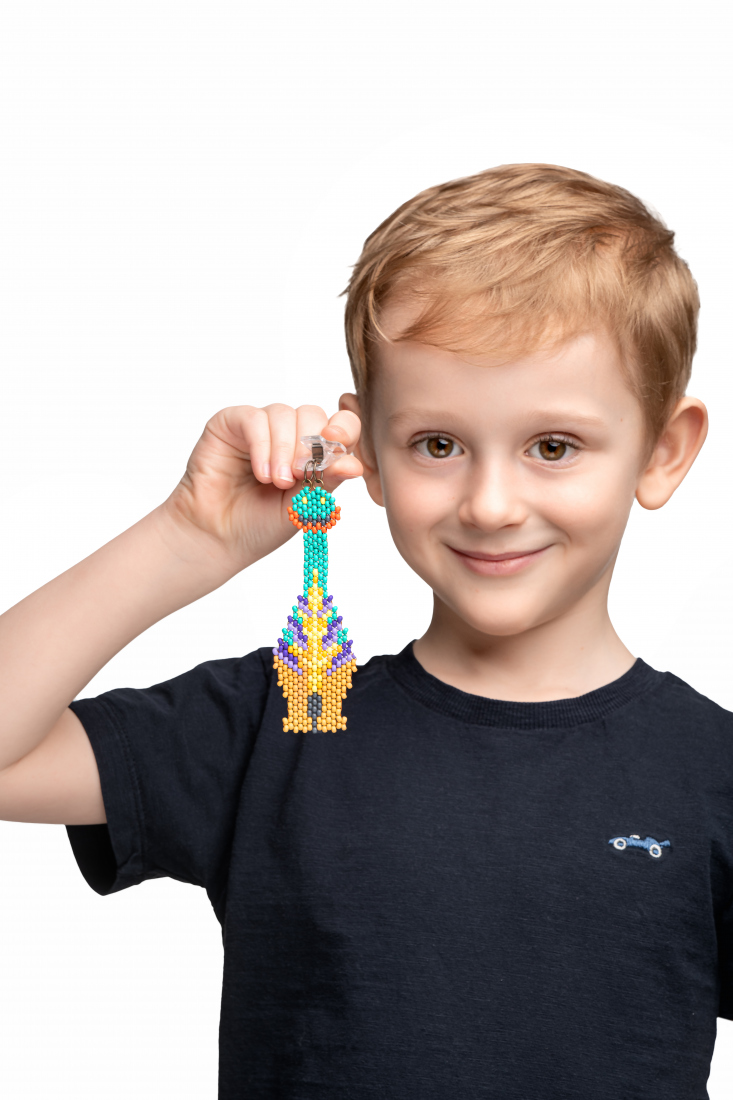
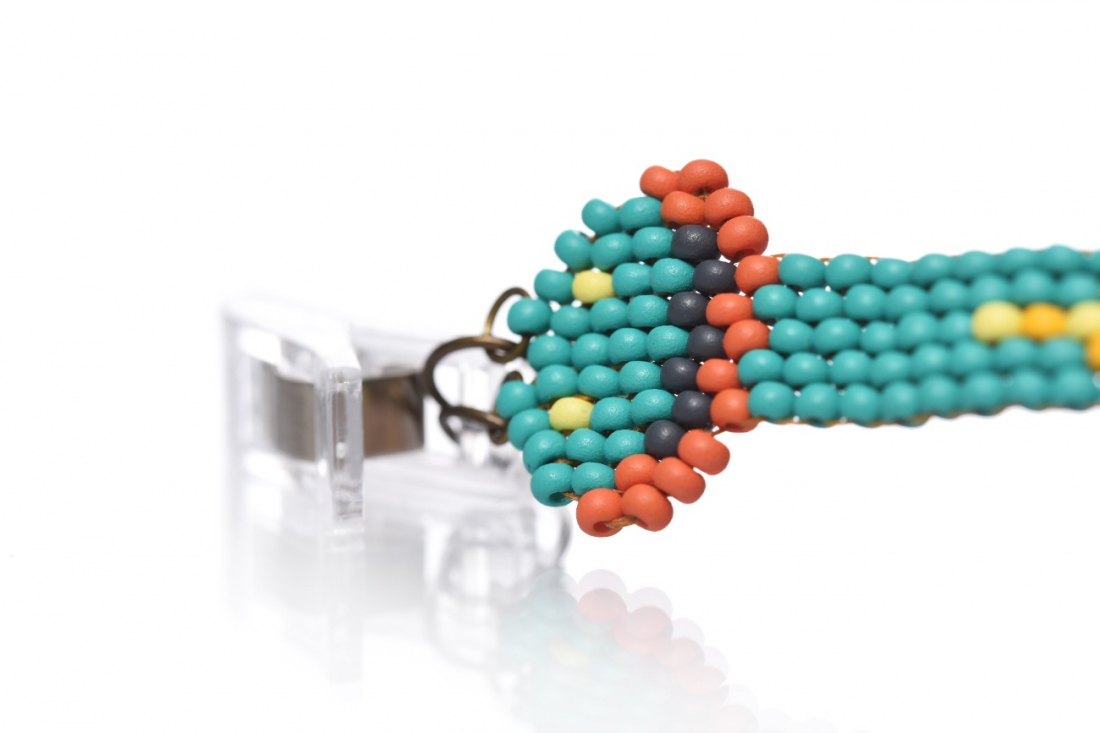
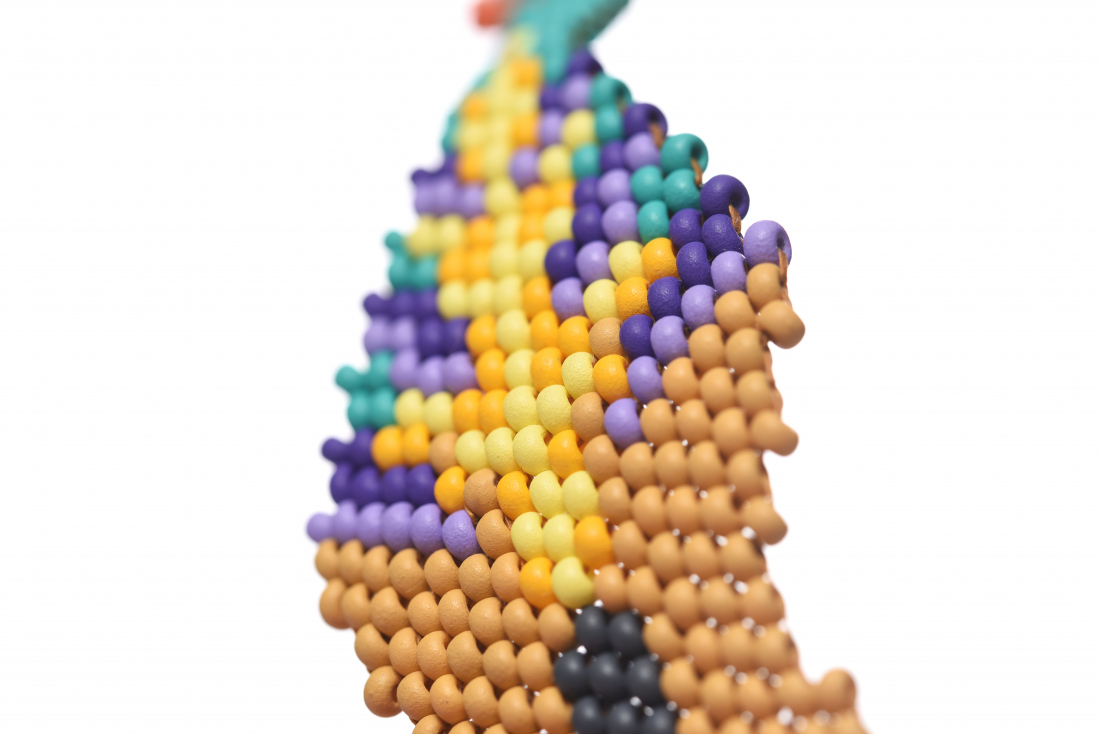
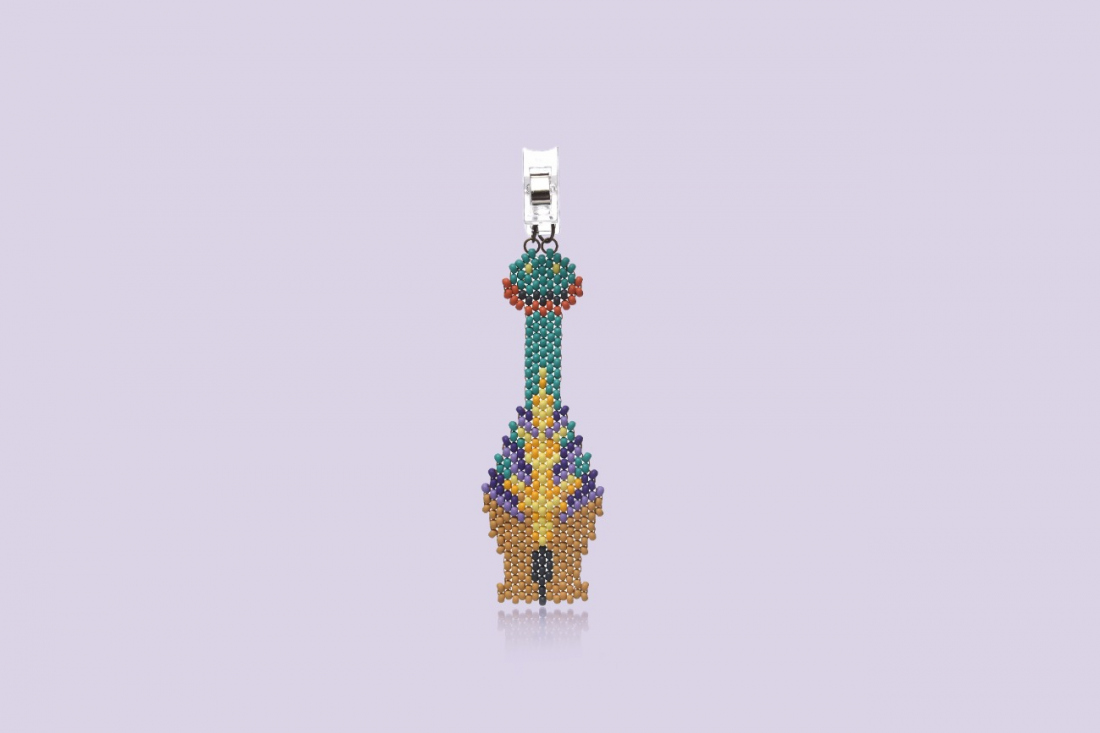
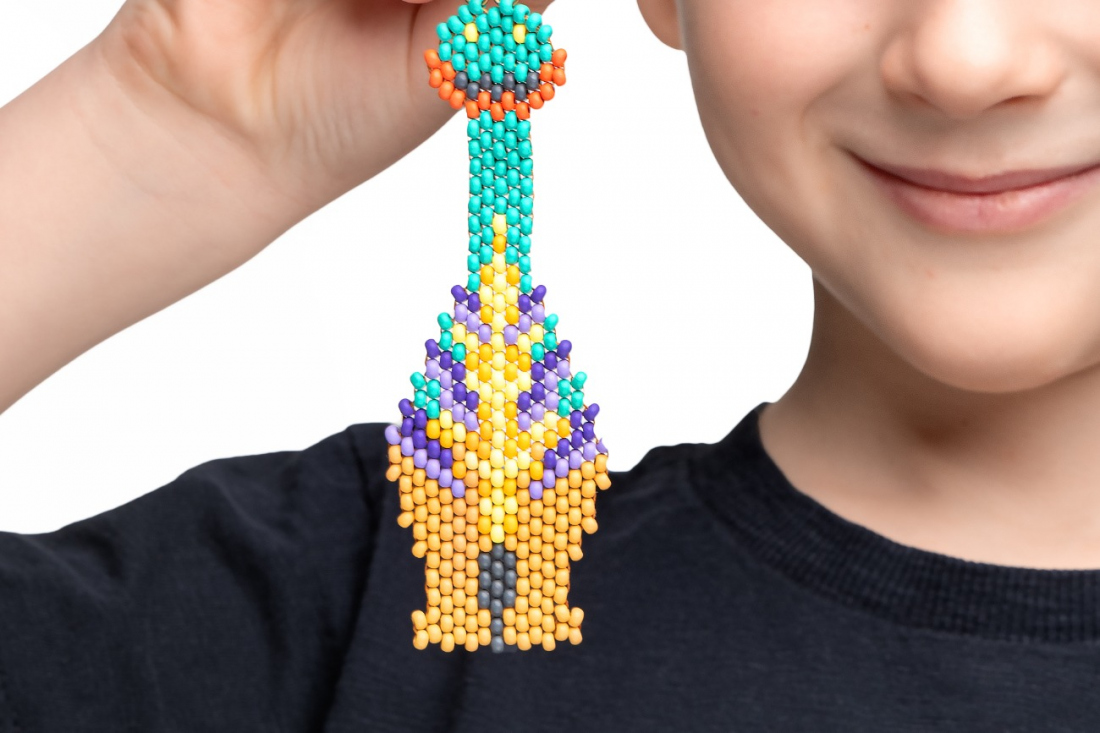
A pendant, decoration or key ring in the shape of a dinosaur in the trending colors of the Spring/summer 2023 season for all boys and girls. Sew a pendant depicting a portrait of a herbivorous sauropod. The seed beads in the PRECIOSA PermaLux colors will also enable you to make a sauropod according to your imagination.

She is able to switch from luxurious and extravagant fashion show pieces to the preparation of hobby projects,
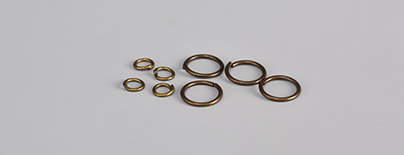
Learn More4-5 mm thin rings; 6-8 mm rings for hanging
Scissors; a thin needle; 0.11 m S-lon nylon thread in the colors of the seed beads; a ruler; flat nose pliers; a peg or clip for hanging

Share this project with your friends